Pop-Up Forms, formerly known as "Lead Flows," are a great and easy tool inside of the HubSpot growth stack that lets any website add a conversion point (form) to any website page, without any coding knowledge at all.
Pop-up forms are simple three-step forms for gathering customer information that can be set to appear on any page on your website.
Here's how to use them effectively to generate leads.
How to Set Up HubSpot Pop-Up Forms
Step 1: Decide what you want to promote
You'll need to have an offering of some kind to entice visitors to complete your pop-up form. You can use anything from a whitepaper or blog subscription, to a webinar, to a free trial or consultation. What's most important is that your offering is perceived as valuable by your audience, so much so that users are willing to provide their contact information in exchange for whatever it is you're offering.
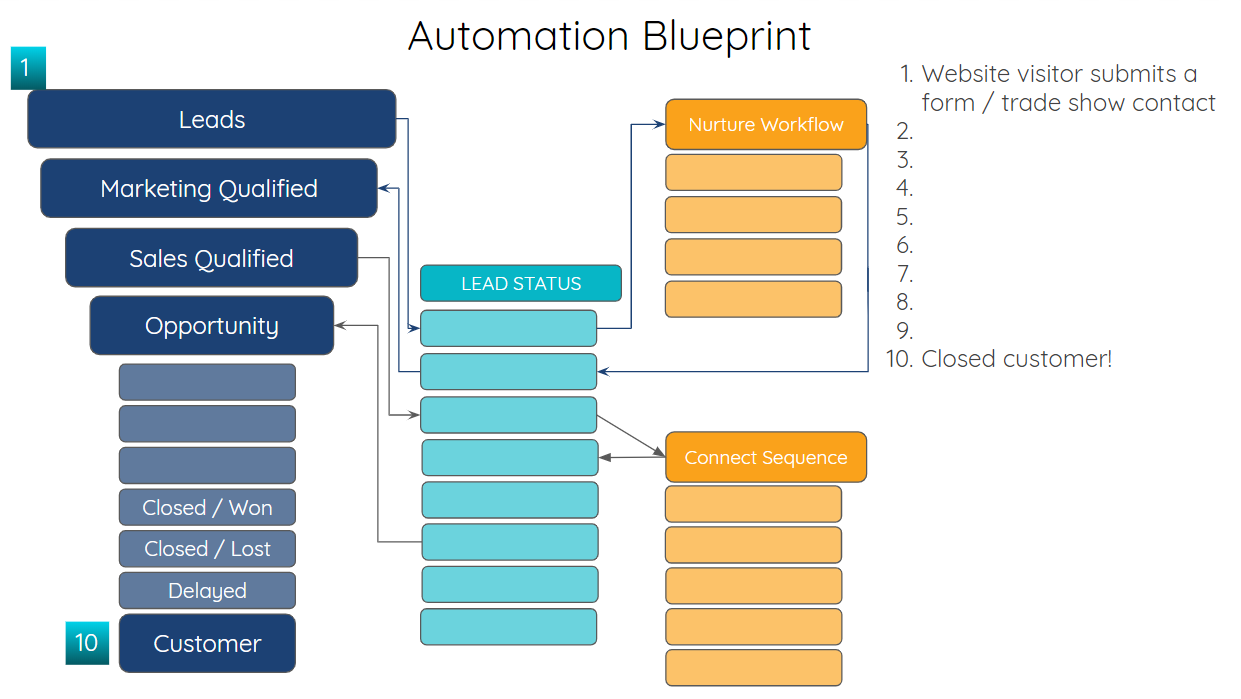
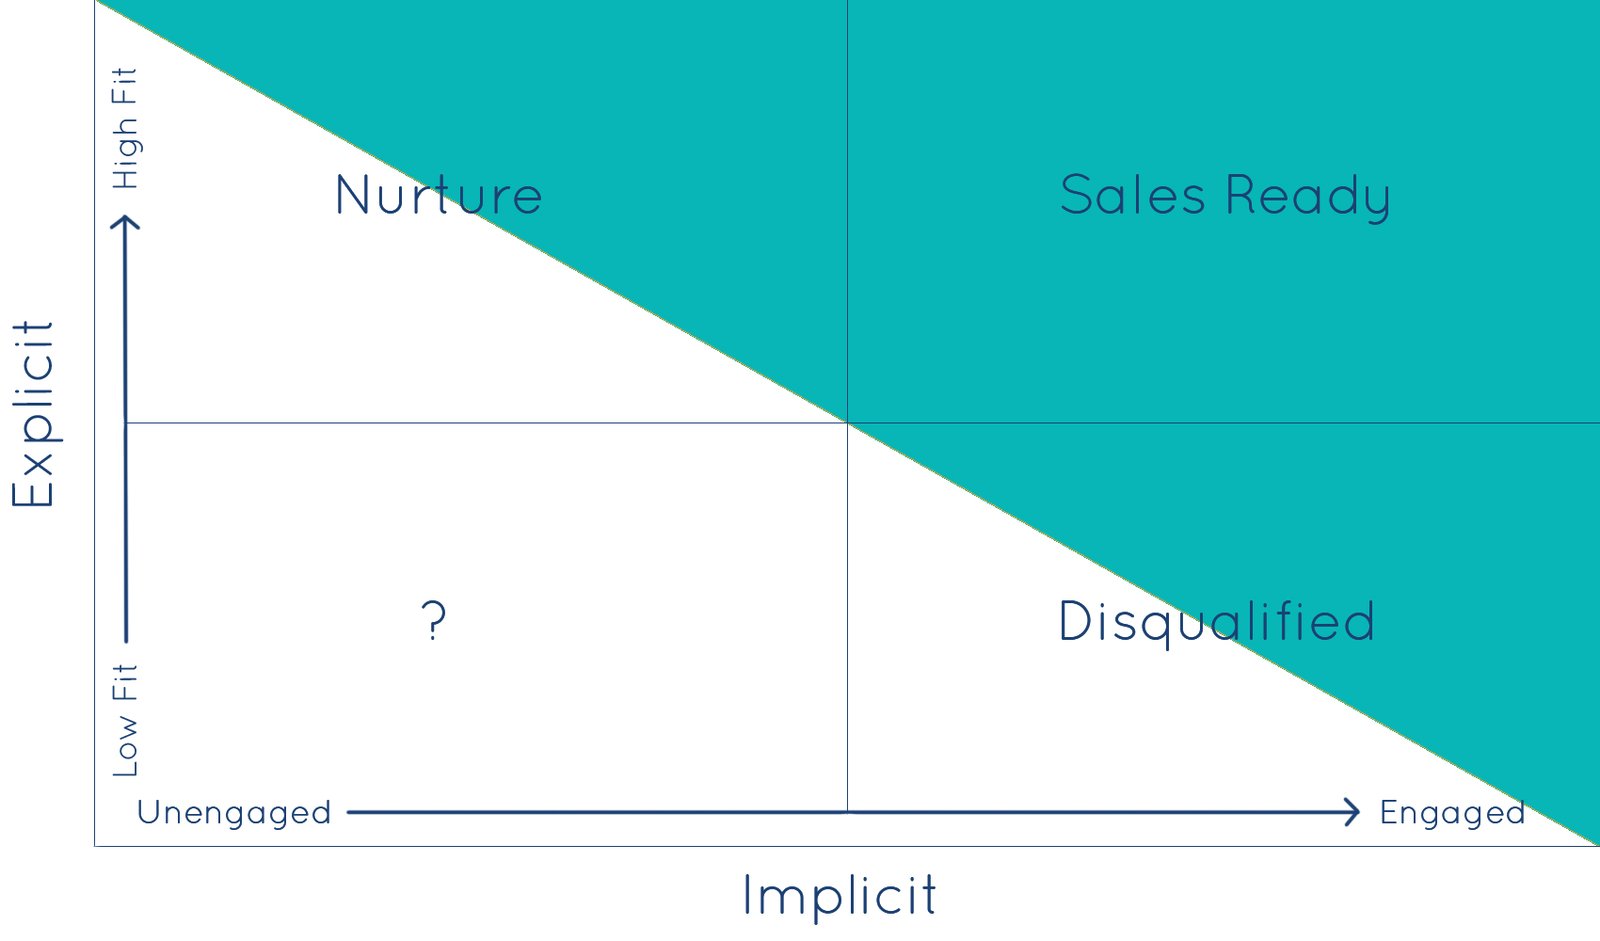
If you are promoting a middle or bottom of the funnel conversion, consider the most valuable information to gather for your lead scoring model and sales team, and be sure to include those fields whenever possible. It is also a good idea to implement progressive profiling, so that you capture new information for existing contacts.
Step 2: Set up your call-out
The call-out is the call-to-action part of the pop-up form that appears first to visitors. You'll need to select between a few different formats:
- Pop-up box
- Drop-down banner
- Slide-in left
- Slide-in right
Choose the form type you'd like to use, then set up your copy, CTA copy, and add a relevant image. You can also select the color of your CTA button, choosing from a pre-set assortment of colors, or you can customize it with your own hex code to match your brand colors perfectly.
Step 3. Set up the form
As you move through the Pop-up form wizard, the next section you'll be prompted to complete will be setting up the form. Here, you'll need to add language for your actual forms, and you'll select the fields that you'll be requesting or requiring from your users.
This text is the copy that a user will see if they click through your original CTA button. Here, you'll want to provide crystal-clear instruction to the user so they know what to do next.
You'll also have the option as this stage to include GDPR-compliant consent checkboxes and set a default lead status for anyone who completes the form.
Step 4. Set up the thank you
Next, you'll need to set up the thank you message - or the text that appears to a user once they have submitted the form. You'll want to briefly and politely thank the user and confirm for them that their submission has been received.
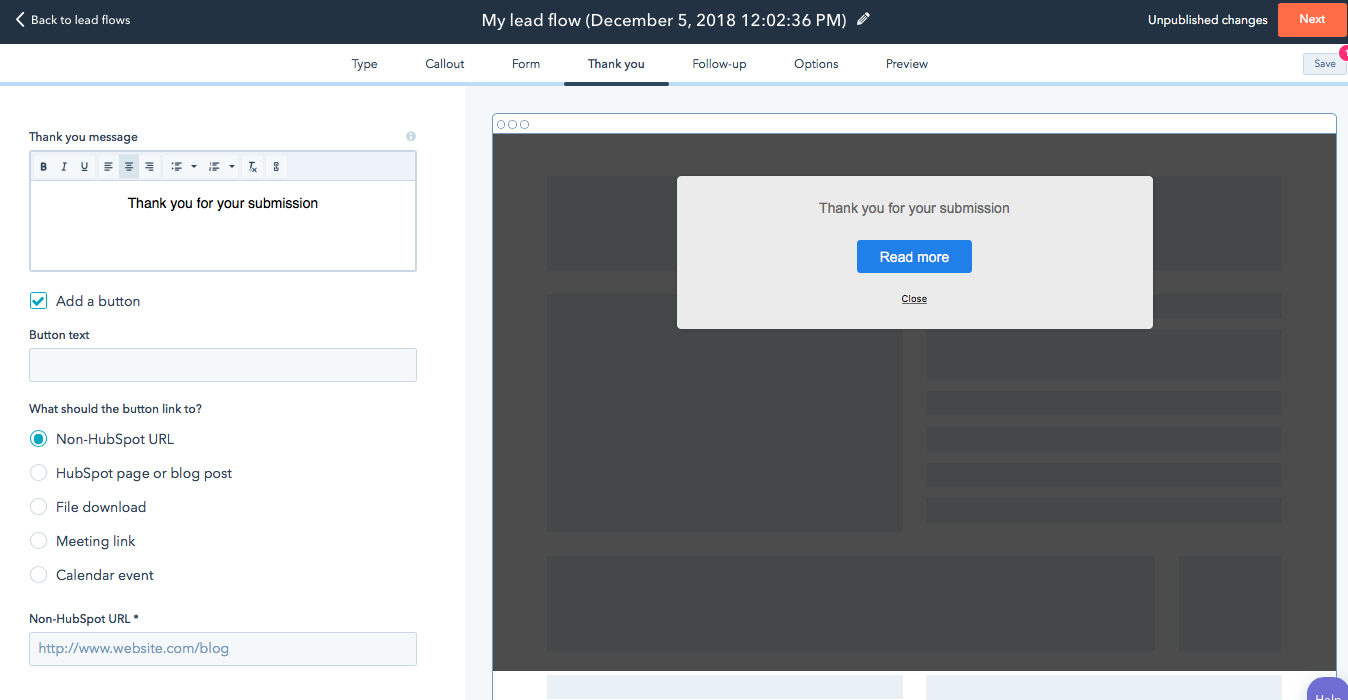
This is also the right place to include a link to download the piece of content that they've requested, if you'd like to set it up that way. HubSpot has made it really easy, by including an option to add a button right there to your thank you message. The wizard will move you through prompts to set up exactly where that button should direct once people click on it. You can have the button link to any website page, HubSpot blog post, landing page, file download, meeting link, or calendar event.
Step 5: Define your follow-up actions
HubSpot makes it really easy to set up follow-up actions for anyone who completes the pop-up form. Right from within the wizard, you can create a follow-up email that will keep your lead engaged even after their initial interaction with your form.
Step 6: Customize your options
This is where it gets really fun. In Step 6, you'll need to make some decisions about how your pop-up form will function.
First, you'll need to determine on which website pages your pop-in form will trigger. You can choose to put the pop-up form on all of your website pages, or you can be a bit more strategic and select pages that align contextually with the offer that you are presenting. I find that the latter approach tends to yield better results. You can also set exclusion parameters here that will tell HubSpot when to hide the pop-up form.
Certain forms will perform better on certain places within your website. It's important to contextually align your form and offer with the content of your website page.
Next, you'll need to set your form triggers. There are three options to pick from:
- On 50% page scroll - this is pretty self-explanatory. When a user scrolls to the halfway mark of your page, the pop-up form will trigger.
- On exit intent - this will trigger the pop-up form to trigger when someone moves their mouse toward the "back" arrow in their browser - a signal indicating that the user is leaving the page. This is the default option for HubSpot pop-up forms and the one I have seen perform best.
- After elapsed time - you can trigger your pop-up forms to load after a set amount of time has passed, with a minimum of 7 seconds. This option is ok, in my opinion. I think it's a bit disruptive to have a pop-up form load while you're in the middle of reading a piece of content, but you see it everyday. Test everything and find out what works best for your business.
Here, you'll see an option to disable your pop-up form on small screen sizes (mobile phones). This is generally a best practice, as Google does not look particularly favorably upon companies that interrupt smartphone users with pop-up forms. They tend just not to function nearly as well on a phone as they do on a desktop device, so I do generally tend to check this box when I set my pop-up forms up.
Moving through the final steps of the pop-up form wizard, you'll be prompted to set a time buffer for when the pop-up form should show again to a user that has specifically dismissed it in the past, and you can also set your notification preferences as well as your opt-in preferences for new contacts generated through this means.
Step 7: Preview your form
The final step of the wizard will give you a fully functional preview of your form, from your initial call-out through post-conversion. You can preview the various steps of your pop-up form by clicking through the numbers, and you can even preview the form on various devices. If you wish to change anything about your pop-up form at this point, you can easily move back and forth within the wizard.
Step 7: Launch
This step is easy. Simply click "publish" to launch your form and start capturing leads.
Step 8: Optimize your form for conversion
Once you've launched your form, you're not done. Rather, you should check back at least weekly, if not daily, to review your form performance and optimize for lead conversion.
Review your conversion rate per form, then look to improve.
Take your lead generation game to the next level with a free website audit. Click below to schedule your free website audit now. You can also learn more about our HubSpot experience and solutions.
Optimize conversions with a free website audit.